Getting Started tutorial, Azure AI Foundry
Azure AI Foundry is an extremely complex product, not only because its capabilities in the AI space are so new but also because it contains a wealth of tools and options. (Just take a look at the product’s navigation, right—and that’s newly simplified, too!) Research had shown us that new users didn’t know where to start, so a small team was charged with creating a tutorial to help, and I was the content designer working along with a UX designer, PM, and engineers.
In the first few weeks after the launch of the tutorial, we saw:
- 20% increase in successful new project creation
- 34% rise in GPT 4-o deployments among new users (9% overall)
- 27% of users who begin the tutorial go on to complete it
Tutorial details
The Getting Started tutorial “lives” in the Product Help panel, which is open by default but can be closed and reopened. The tutorial walks the user through the necessary steps to get started building an AI solution. There was some confusion on the team about how and when the tutorial would move the user to the correct screen to complete each step, so I created this user flow (click to view larger).
Once we were all on the same page about the flow, it was easy to move forward. The tutorial has four steps:
1. Create a subscription. If the system detects that the user already has a subscription, this step is automatically checked off, like this:
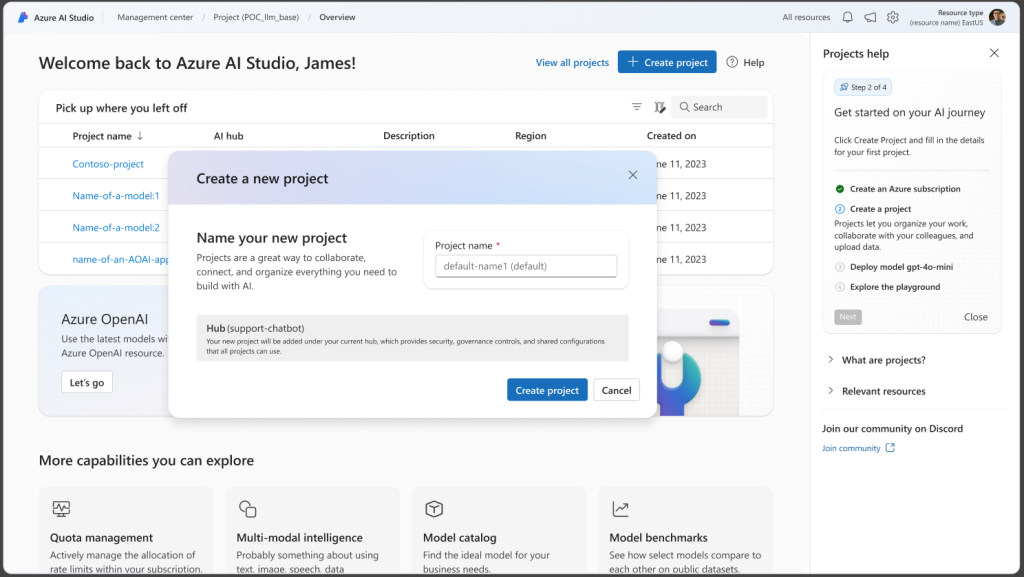
2. Create a project. When the user clicks “Create project,” the project creation modal opens.
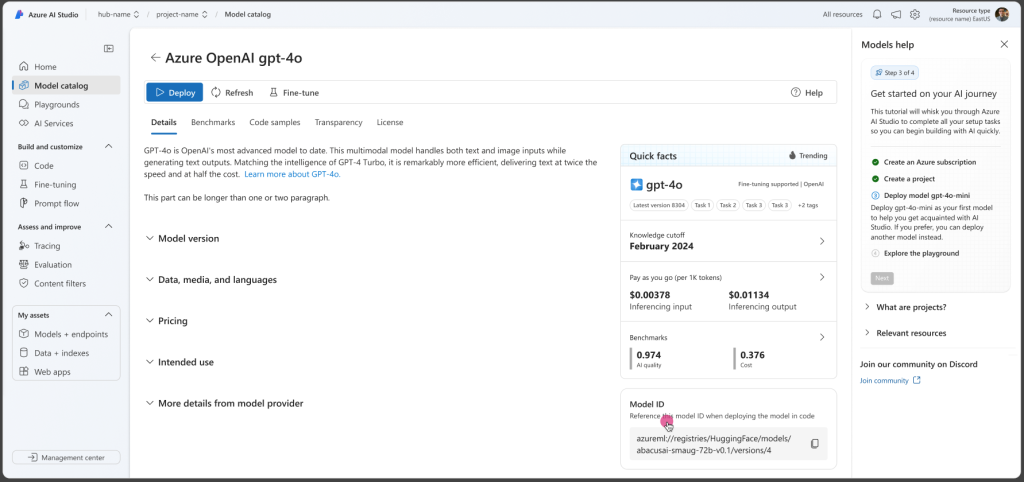
3. Deploy a model. We recommend a specific model (GPT 4-o) for users’ first deployment.
4. Explore the playground. With a model deployed, users can now experiment with it in the chat playground, testing out various prompts, changing parameters, and uploading their own data to begin creating their AI solution.